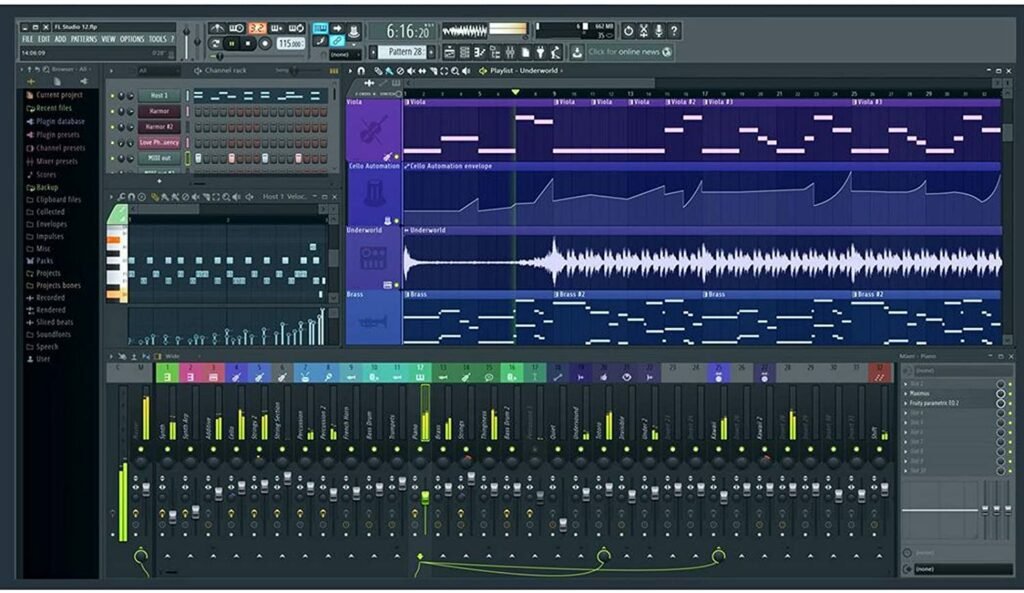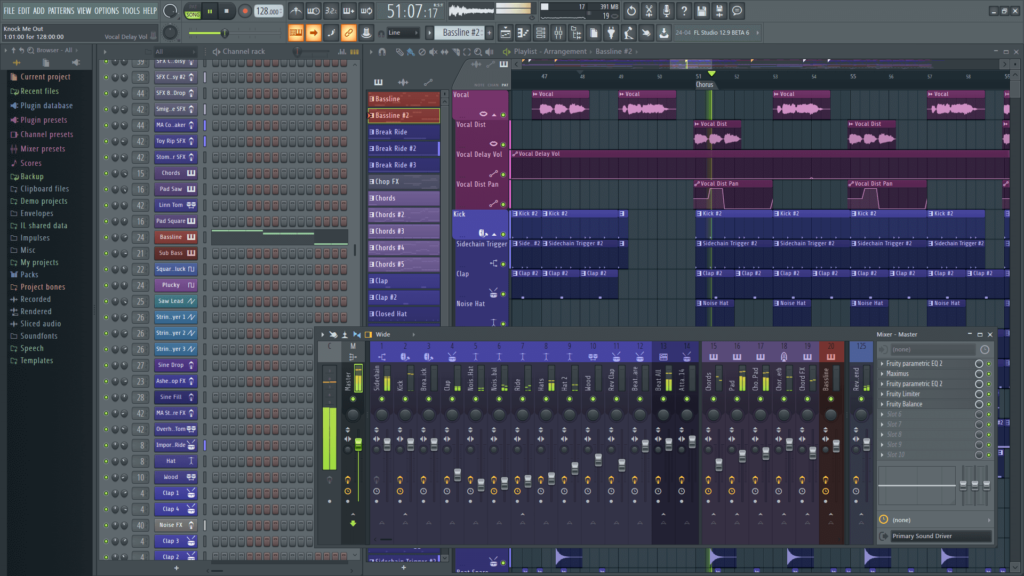
we're looking at some automation tools and techniques that can help with your workflow in fl studio if you're completely new to this and you don't know what automation is yet simply check out my beginner's guide which i've linked up here and in the description that video will walk you through some more of the fundamentals i'm also giving away five copies of fl studio and there's still a little bit of time left to win so check the description to find out how to win one of those as well anyway without further delay let's get right into the video i'll be showing a few different tools and techniques so if you have seen one you can skip ahead using the chapter markers and find something more sort of interesting for you but the first thing i want to show is the brand new automation editor which has been added in this new 20.9 free update if you do have fl studio grab that lifetime free update and you can use this incredible new tool so i have this strings channel that i'm affecting using an eq let's take a quick listen and i'm just using this eq to just sweep out some of the high frequencies like this so i'd like to control this with an automation if i right click create automation clip and adjust some of these values say at the start it's low and then it sweeps out and reveals those high frequencies as the mix progresses now this is okay but to get control over this you have to zoom in quite far and it's just annoying it's quite clunky it's always been a bit of a problem so there's this new automation editor at the top of the automation clip double left click and you get this brand new window here this can be further expanded by pressing enter or by dragging from the bottom corner here what makes this amazing is that you can zoom in so there's a few tips and tricks here i guess if you hold shift and scroll you can zoom in on any part of the automation clip or if you just scroll normally you can sort of zoom in horizontally and vertically by holding alt or just by scrolling in naturally but i prefer holding shift and zooming in to a particular point this new editor offers so much more control so you can snap things in exactly to the grid if you have snapping turned on here or you can turn it off or press alt to position the points wherever you like but i like that it's very easy to snap it into an exact number of bars or beats just like a normal automation clip it's a right click to add a point if you press shift and right click it will snap you onto wherever the automation clip is and of course you can adjust all of the tensions and right click and choose a different mode there's all that normal stuff that you'd expect i'll press enter again to make it a bit smaller and show you a few more features i was going to make a full tutorial for this but it's actually quite self-explanatory you've got the envelope mode or you can press lfo and you have an lfo and you can change all of the usual qualities that you'd expect the tension the speed and whatnot one of the key features something that's really important for me at least is that when you have tons of different automation clips in a project and when you're getting a little bit lazy with naming and organizing and all that stuff sometimes you can lose track of what an automation clip is actually affecting so here you can just go down to the target link section press this button and it just pulls open the parameter or the plug-in that's being affected and if i press this button one more time it just shows you which control is being affected and it also pulls open the mixer channel that that effect or plug-in is loaded on you can also add more targets so you can have the automation clip affecting multiple different parameters at the same time this is not something i tend to do so if i show you that here you can add a let's say a reverb i'll pull this over here if i press plus and then i just adjust that parameter press plus again now this automation clip is affecting both the filter and the reverb at the same time this new tool comes in particularly handy when working on very small automation clips so it's very common on say a base to side chain just using a simple volume automation so take a listen and i'll look you'll see it here we're just side chaining using fruity balance so whenever there's a kick we're just reducing the volume at the base it's a very simple but also effective way to do side chaining if you want to get control of this you usually have to zoom in and it is pretty tedious creating new points it's not that bad but it can be difficult if you really want to be a perfectionist about it and get it sitting where you want now double left click just open up and you can add new points you know with a right click like usual and you can adjust this i'd probably say delete that adjust the tension and you can get it to match your kick perfectly and of course you can press enter and get even more control now i'm guilty of this in all sorts of softwares

i'll usually be adjusting things very small on the screen and then i remember i have a lot of screen space and you can just maximize things get things dialed in the way you need it to be minimize them again and you're set so once you do have a few automation clips created like this you can leave those that's no problem something i want to show though if you press ctrl and left click to create a selection that's a control left click and drag if you press ctrl g it will group those automation clips together someone also pointed out to me that this works with audio as well you can simply select audio clips press ctrl g and it will merge them all together but something important to note is that when you merge your automation clips if you open up your channel rack you'll see that you still actually have the original automation clip here which you can still access so if you weren't happy with this for any reason you can get rid of it and start again or you can press ctrl z to undo or ctrl alt z to undo many steps at a time that's one that a lot of people miss control alt z and i'm not sure how many steps you can undo but it's usually enough to sort of rectify any issues or errors you've made in the last couple of minutes this next tip is all about giving you even more control when you want to make subtle changes with automation so if we take a listen to what i've got here when these drums come in here i just want to push the volume of the instruments up a little bit and then pull them back down again just to make them a little bit easier to notice in that section so if i go to my instrument bus and create an automation clip now to try and make a change on this is quite a pain i mean even if i zoom in a little bit uh left click and drag i just want to make a very small change that's already at 1.5 db just that tiny little change there the reason that making a small change in an automation clip can actually make quite a big change on say a fader is because the bottom of the automation clip is minus infinity and the very top is 5.6 db or plus 5.6 db so we've got this entire range to work with so of course if you make a small change it might actually result in quite a large change here what we can do to change this is change the minimum and maximum values of the automation clip and that is accessed here so if i push this minimum up and the maximum down you'll see that the minimum value is minus 16.2 and the maximum is only minus three so this is you know a little bit arbitrary we can set these exact so if i set this back to zero that's just a middle click for anyone who's wondering center click on the mouse we'll take it back right click copy value if i go back into here paste that minimum value there so now the minimum is set to 0 db let's just check that the minimum value here we're at 0 db and then let's push it up just by 1db copy that value and then paste that into the maximum and now this entire automation clip only changes the fader from 0 to 1 db so this is great if i make this a smooth point here you can see that a big change on the automation clip is making a tiny change on the fader and this is essential for mastering sometimes you want to just push a few stems or the whole chorus up just by a quarter of a db or half a db and being able to change the limits i call this range limiting the automation clip means that you can do this so easily and you can control these curves and these sort of volume ramp ups and downs and the last tip is all about deleting automation clips properly so if you remove it from the playlist with a right click that hasn't got rid of it of course if you delete it from the channel rack you press a right click delete this has got rid of the automation but unfortunately when you uh i'll solo this in here you'll notice when i change the value it just keeps jumping back to zero db no matter what i do if you right click on either the fader or it could be the control in an eq or a reverb whichever parameter you've been automating if you right click and select delete initial value that just removes that there and you're good to carry on mixing or producing or adding another automation clip just as you were before this is something that bothers a lot of people i got a lot of comments questions and even emails about this this sort of sticky value they say all the values stuck no matter what they do to it it's just as simple as right click delete initial value so that's everything for today let me know if you found the video helpful and as always let me know what sort of videos you want to see in the comments section down below i've been reading all the comments in the previous couple of videos and it's really helping to shape the sort of content that you want to see and what i'll be making moving forward so thank you very much for all those suggestions and i hope you have a great week and i'll see in the next video bye for now [Music]


